To create unique percussion loops using everyday object samples, begin by recording a diverse array of sounds from common items like kitchenware, office supplies, or even natural elements. This approach, often referred to as creative sound design with everyday objects samples, allows for truly original sonic textures. Use a quality microphone and audio interface to capture crisp samples, focusing on varying dynamics and textures. Process these raw sounds with EQ, compression, and effects like reverb or distortion in your digital audio workstation (DAW) to sculpt them into distinct percussive elements. Finally, layer and arrange these processed samples rhythmically to construct compelling and original percussion loops.
The Allure of Found Sounds in Percussion
Diving into the world of everyday object samples for percussion loops opens up a vast, unexplored sonic landscape for music producers and sound designers. The inherent uniqueness of sounds derived from non-traditional sources offers an unparalleled opportunity to inject originality and character into musical compositions. Unlike conventional drum machines or sample packs, found sounds bring an organic, often unpredictable texture that can evoke specific moods, environments, or even tell a story within a beat. This approach fosters immense creativity, encouraging artists to listen to their surroundings with a fresh perspective and transform the mundane into the extraordinary, much like using environmental recordings as musical textures.
Beyond artistic expression, utilizing everyday objects is an incredibly cost-effective method for expanding one’s percussive palette. There’s no need for expensive drum kits or extensive sample libraries when a simple kitchen utensil, a stack of books, or even the crinkle of paper can become the backbone of a rhythm. This accessibility makes it an ideal tutorial for aspiring producers or those looking to break free from sonic clichés. Experimentation is key; a single object can yield dozens of different percussive hits depending on how it’s struck, scraped, or dropped, providing a rich source of raw material for captivating percussion loops.
Essential Gear for Capturing Object Samples
To embark on the journey of creating unique percussion loops from everyday objects, having the right recording equipment is crucial for capturing high-quality samples. Mastering field recording techniques for music samples begins with selecting the appropriate tools. A decent microphone is paramount; condenser microphones are often favored for their sensitivity and ability to capture intricate details and transients, ideal for the subtle nuances of many object sounds. However, dynamic microphones can also be effective for louder, more aggressive hits, offering a different character. For experimental sounds, consider a contact microphone (piezo pickup) which attaches directly to an object, isolating vibrations and revealing internal resonances that air microphones might miss.
An audio interface is another fundamental component, serving as the bridge between your microphone and your computer. It converts the analog sound waves into digital information that your digital audio workstation (DAW) can understand. Look for an interface with good preamps to ensure clean, low-noise recordings. Headphones are indispensable for monitoring your sound during recording, allowing you to catch unwanted noises or clipping before it’s too late. Finally, your chosen DAW (e.g., Ableton Live, Logic Pro, FL Studio, Pro Tools) will be where you record, edit, process, and ultimately arrange your everyday object samples into compelling percussion loops.
Recording Techniques for Crisp Percussive Samples
Capturing the pristine quality of everyday object samples requires attention to specific recording techniques. Microphone placement is critical: close-miking an object (placing the mic a few inches away) can yield a dry, direct sound, emphasizing transients and minimizing room ambience. Conversely, moving the microphone further back introduces more room tone, which can add natural reverb and depth, though care must be taken to avoid muddying the sound. Experiment with different angles and distances, as even a slight shift can dramatically alter the sonic character of a tap, scrape, or hit.
To ensure your percussion loops have dynamic range and versatility, record multiple variations of each sound. Strike objects with different velocities – soft, medium, hard – to capture a range of intensities. Varying the striking implement (e.g., using a finger, a stick, a brush, a mallet) will also produce vastly different timbres from the same object. When recording, aim for a quiet environment to minimize background noise. Record several individual hits rather than trying to capture a perfect loop in one take; this provides more flexibility during the editing and programming stages of your percussion loops everyday object samples tutorial. Label and organize your recorded samples meticulously for easy retrieval later.
Transforming Raw Samples into Loop-Ready Elements
Once you’ve amassed a collection of raw everyday object samples, the next crucial step is transforming them into polished, loop-ready percussive elements. This processing typically begins with meticulous editing in your DAW. Trim the samples precisely, removing any unwanted silence before or after the hit, and normalize their volume to a consistent level. Gating can also be employed to further eliminate low-level background noise between hits, ensuring a clean, punchy sound that will sit well in a mix and contribute effectively to your percussion loops.
Sound shaping through equalization (EQ) is vital for refining the tonal characteristics of your samples. Remove undesirable frequencies, such as muddiness in the low-mids or harshness in the highs, and boost frequencies that enhance the percussive attack or resonance. Compression is another powerful tool, used to control the dynamic range of a sample, making quiet parts louder and loud parts quieter, resulting in a more consistent and impactful sound. This also helps in adding punch and sustain, which are essential for percussive elements.
Beyond fundamental processing, creative effects can significantly elevate your everyday object samples. Reverb and delay can add space and dimension, transforming a dry hit into an atmospheric wash or a rhythmic echo. Distortion or saturation can introduce grit, warmth, and harmonic richness, giving seemingly innocuous objects a powerful, aggressive edge. Experiment with pitch-shifting to alter the fundamental frequency of an object, turning a high-pitched tap into a deep thud, or time-stretching to manipulate the duration, creating unique textures. These techniques are central to crafting truly unique percussion loops from your found sound recordings.
Structuring Unique Percussion Loops
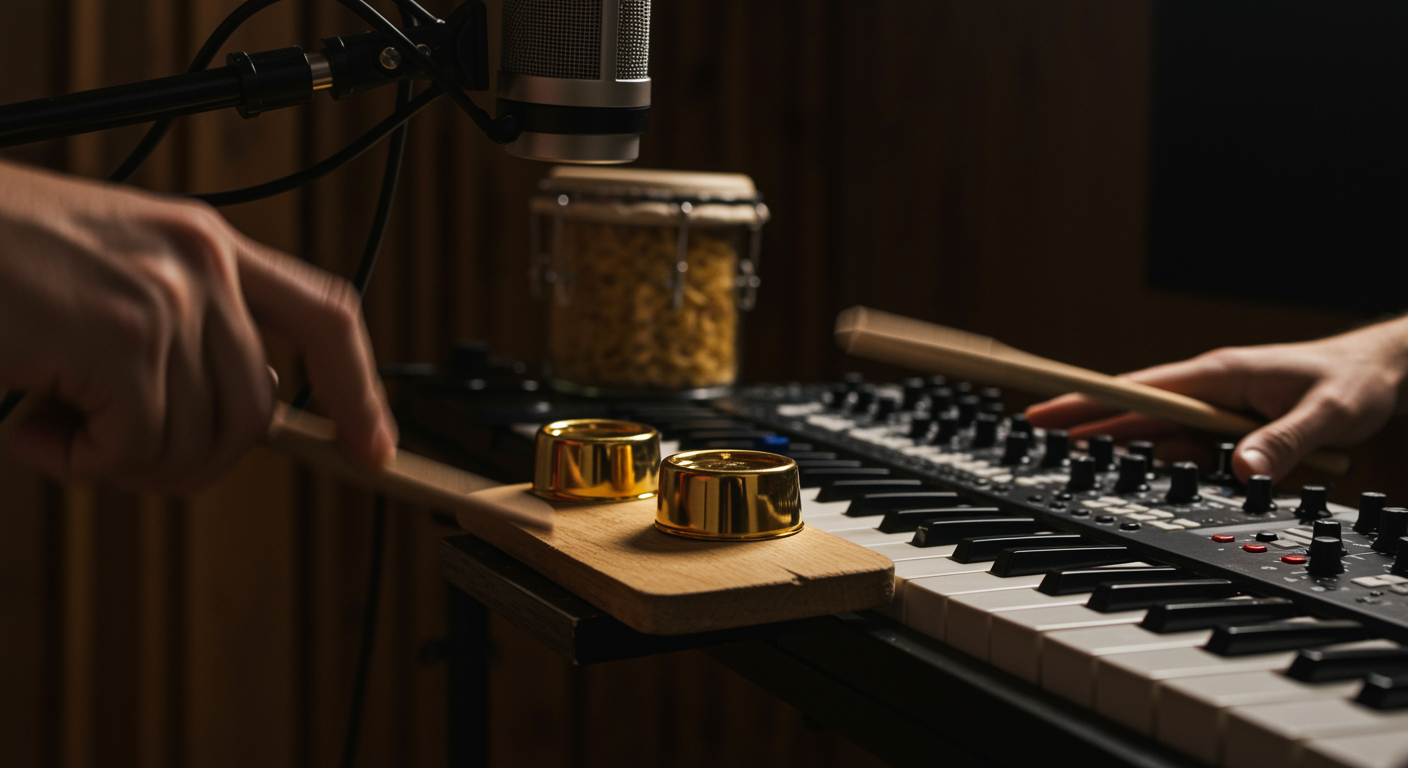
After refining individual everyday object samples, the creative challenge shifts to assembling them into compelling and unique percussion loops. This involves careful layering and rhythmic programming, focusing on layering audio samples for depth. Begin by establishing a foundational groove, perhaps using a metallic clang for a snare or a wooden thud for a kick drum. Then, introduce additional layers with different sonic textures from your samples, such as a shaker made from dry pasta in a jar, or a hi-hat sound derived from keys jingling. The key is to ensure each layer occupies its own sonic space without clashing, contributing to the overall rhythmic tapestry.
When programming your loops, consider both grid-based precision and more organic, humanized rhythms. While snapping samples to a grid ensures tight timing, adding subtle variations in velocity and timing (often referred to as ‘groove’ or ‘swing’) can inject life and feel into the loop, preventing it from sounding robotic. Experiment with polyrhythms by layering loops with different time signatures or subtle syncopations to create complex and engaging rhythmic patterns. Don’t be afraid to leave space; sometimes, what’s *not* played is just as important as what is, allowing individual samples to breathe and resonate within the percussion loop.
Practical Tips for Object Discovery and Sound Design
Developing a keen ear for potential percussion samples is a skill that improves with practice. Start by actively listening to your environment – your home, office, or even outdoors – with the mindset of a sound designer. Every object has percussive potential, whether it’s the subtle click of a pen, the rhythmic drip of a faucet, or the resonant thud of a cardboard box. Don’t limit yourself to obvious “drum-like” sounds; even textural noises like fabric rubbing or paper crumpling can become interesting percussive elements when processed creatively and integrated into percussion loops.
Experimentation is the bedrock of successful everyday object sampling. Strike objects with different parts of your hand, various sticks, mallets, or even other objects. Record how an object sounds when dropped, scraped, or flicked. Change the surface it rests on; a glass tapping on wood sounds different than on carpet. Think beyond the object’s original purpose and consider its acoustic properties. Does it resonate? Is it hollow? Does it have a sharp attack or a long decay? This sound design mindset allows you to unlock a vast array of unique percussive possibilities from your surroundings, making every “percussion loops everyday object samples tutorial” session a journey of discovery.