Optimizing drum samples for live performance involves meticulous preparation, smart hardware/software integration, careful audio processing, and robust redundancy planning to ensure seamless execution, minimal latency, and a powerful, consistent sound in any live setting.
Selecting and Preparing Samples
The foundation of effective live drum sample optimization begins with the careful selection and preparation of your audio assets. Choose high-quality samples that complement your acoustic kit or stand alone as the primary percussive element. Prioritize samples that are already well-recorded and processed, reducing the need for extensive real-time adjustments. Consider the sonic context of your band and the genre you’re playing; a punchy kick for rock will differ from a crisp electronic snare for pop. Once selected, trim samples precisely to eliminate unnecessary silence at the beginning or end, which can introduce timing issues. Normalize individual samples to a consistent peak level to ensure uniform playback volume, but avoid over-compression at this stage, as dynamic range is often beneficial.
Organizing your samples logically is equally important for swift navigation during a live show. Learn more about organizing sample library for faster workflow in music production. Create intuitive folder structures or naming conventions (e.g., “Kick_Rock,” “Snare_Pop_Layer”) that allow for quick recall. Batch processing tools can be invaluable for applying consistent gain adjustments, fades, or even subtle EQ across a large set of samples. While it might seem counterintuitive, sometimes simplifying samples by bouncing layered sounds into a single audio file can reduce CPU strain during performance, especially for complex kits. For more advanced methods, explore layering short percussive samples. Always listen to your prepared samples through quality headphones and monitors to catch any clicks, pops, or unwanted artifacts before they hit the stage.
Integrating Samples into Your Setup
Successful live performance with drum samples hinges on seamless integration into your existing or dedicated drumming rig. This typically involves choosing the right hardware and software. Popular choices include dedicated hardware samplers (like Akai MPCs or Roland SPD-SX), drum modules with sample playback capabilities, or laptop-based solutions using Digital Audio Workstations (DAWs) such as Ableton Live, Logic Pro, or MainStage. Each option offers different levels of flexibility, portability, and processing power. Hardware samplers often provide robust, low-latency performance with dedicated physical controls, while software-based setups allow for greater sonic manipulation and complex routing through plugins.
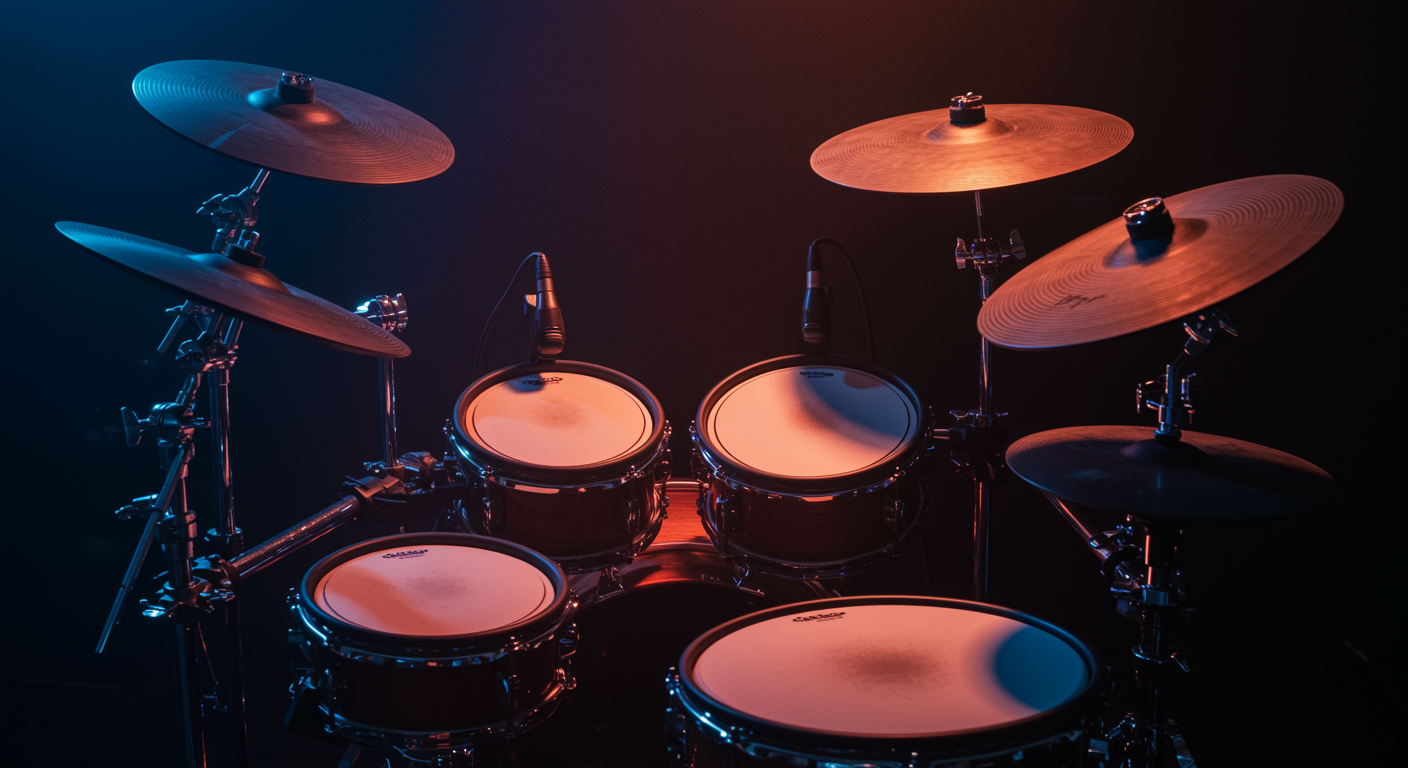
Triggering samples accurately is paramount. This can be achieved via acoustic drum triggers attached to your drums, dedicated electronic drum pads, or MIDI foot controllers. Acoustic triggers convert drum hits into MIDI signals, which then activate your samples. Ensure your triggers are securely mounted and calibrated to avoid false triggers or missed hits, adjusting sensitivity and threshold settings carefully. For electronic pads, choose those with responsive surfaces and durable construction suitable for consistent live use. Whichever method you employ, map your samples logically to your triggers or pads, mimicking a natural drum layout where possible to enhance muscle memory and performance fluidity.
Optimizing Audio Chains for Performance
Beyond initial sample preparation, optimizing the audio signal chain is crucial for a professional live sound. Proper gain staging from the sample source to the front-of-house (FOH) mixer is fundamental. Start by setting the output level of your sampler or DAW to a healthy, but not clipping, signal. This ensures maximum signal-to-noise ratio without overloading subsequent devices. Avoid relying on the master fader of your sampler as the primary volume control; instead, manage individual sample volumes or groups within your software/hardware before they reach the main output.
Strategic use of EQ and compression within your sample playback chain can significantly enhance clarity and punch. Apply a high-pass filter to remove unnecessary low-end rumble from snares and cymbals, freeing up headroom for the kick drum. Similarly, a low-pass filter can tame harsh high frequencies. Gentle compression can add consistent attack and sustain to your samples, helping them cut through a dense mix. However, excessive compression can stifle dynamics and make samples sound lifeless. Consider using a transparent limiter on your master output as a safety net against unexpected peaks, but aim to achieve your desired dynamics through careful mixing rather than heavy limiting. Experiment with sends for reverb or delay, but apply them subtly; too much spatial effect can muddy the live sound, especially in acoustically challenging venues.
Managing Latency and Synchronization
Latency is the enemy of any live electronic performance, especially for drummers relying on triggers and samples. It’s the delay between hitting a trigger and hearing the corresponding sample. To minimize latency in a software-based setup, use a high-quality audio interface with stable, low-latency drivers (ASIO for Windows, Core Audio for Mac). Set your audio buffer size as low as your system can handle without introducing clicks or dropouts. A buffer size of 64 or 128 samples is often achievable on modern systems and provides negligible latency.
Synchronization is equally critical when samples play alongside a click track, backing tracks, or other electronic elements. If your band uses a master clock, ensure your sample playback system is slaved to it via MIDI clock or SMPTE timecode. This guarantees that all tempo-based elements remain perfectly in time. For drummers triggering samples from an acoustic kit, the immediate response is paramount. Regularly check and adjust your trigger sensitivity and threshold to ensure that every hit registers accurately and without delay. Sometimes, dedicating a separate, powerful computer or a robust hardware sampler solely for drum samples can provide the necessary processing power to keep latency at bay, even during complex arrangements.
Ensuring Reliability and Redundancy
Live performance is inherently unpredictable, and equipment failures can be catastrophic without proper preparation. Building redundancy into your drum sample setup is not an option; it’s a necessity. For laptop-based systems, have a mirrored backup laptop ready to take over, ideally pre-loaded with your entire show and configured identically. Ensure all necessary drivers, software, and audio settings are installed and tested on the backup machine. A simple A/B switch or a small mixer can facilitate a rapid switchover if your primary system fails.
Hardware samplers and modules should also have backups where feasible, or at least a spare power supply and critical cables. Carry extra trigger cables, MIDI cables, and audio cables, as these are common points of failure. Before every show, perform a full system check: test every trigger, every sample, and every output. Save your projects frequently and backup your entire sample library to an external drive. Having a “plan B” for your samples, even if it’s a simplified version of your show or a way to revert to purely acoustic drumming, provides peace of mind and prevents a show from grinding to a halt due to technical issues.
Live Soundcheck and Troubleshooting Techniques
The soundcheck is your final and most critical opportunity to fine-tune your drum sample optimization in the actual performance environment. Start by listening to your samples in isolation through the FOH system to ensure they sound as intended, free from unwanted resonance or phase issues introduced by the PA speakers. Work closely with the sound engineer to set appropriate levels for each sample, ensuring they blend well with the acoustic drums and other instruments without dominating or getting lost in the mix. For further insights into mixing live instruments with electronic samples, refer to specialized guides. Pay particular attention to the kick and snare samples, as these are often the rhythmic backbone.
During soundcheck, actively test different velocities and dynamics to confirm that your triggers or pads are responding consistently across your playing range. If you encounter issues like ghost triggers, missing hits, or unexpected tonal shifts, troubleshoot systematically. Check cable connections, trigger sensitivity, gate settings, and pad calibration. If a sample sounds thin or muddy, consider minor EQ adjustments, but be wary of over-processing in a live environment; often, less is more. Having a detailed patch list or cue sheet can help streamline the process, allowing you and the engineer to quickly identify and address specific sounds. Don’t be afraid to communicate clearly and calmly with the sound crew; their expertise is invaluable in resolving live sound challenges.
Creative Application of Samples Onstage
Beyond simply reinforcing or replacing acoustic drum sounds, samples open up a vast realm of creative possibilities for live drummers. Consider layering samples with acoustic hits to create unique hybrid textures; a subtle electronic clap layered under a snare can add punch, or a sustained synth pad triggered with a kick can add depth to a breakdown. Delve deeper into advanced percussion sample layering techniques to craft even more unique rhythms. Experiment with triggering one-shot FX samples (risers, drops, impacts) during specific musical moments to enhance transitions and build energy. These can be mapped to dedicated pads or even specific drum hits at opportune times.
Furthermore, samples can introduce entirely new percussive elements that are impossible to achieve acoustically. Imagine incorporating tabla loops, tabla sounds, or glitchy electronic percussion directly into your groove. Some advanced setups allow for real-time manipulation of samples through MIDI controllers—adjusting pitch, filter cutoffs, or even swapping out entire sample kits on the fly. This level of interaction transforms samples from static playback into a dynamic, expressive extension of your drumming. Practicing these creative applications extensively will ensure they enhance, rather than detract from, the fluidity and impact of your live performance.