Blending the distinctive warmth and character of vinyl samples into a digital music production workflow involves a meticulous process of accurate digitization, careful sonic preparation, and creative integration within a Digital Audio Workstation (DAW) to achieve a unique sonic tapestry that marries vintage charm with modern precision.
Capturing and Digitizing Vinyl Samples
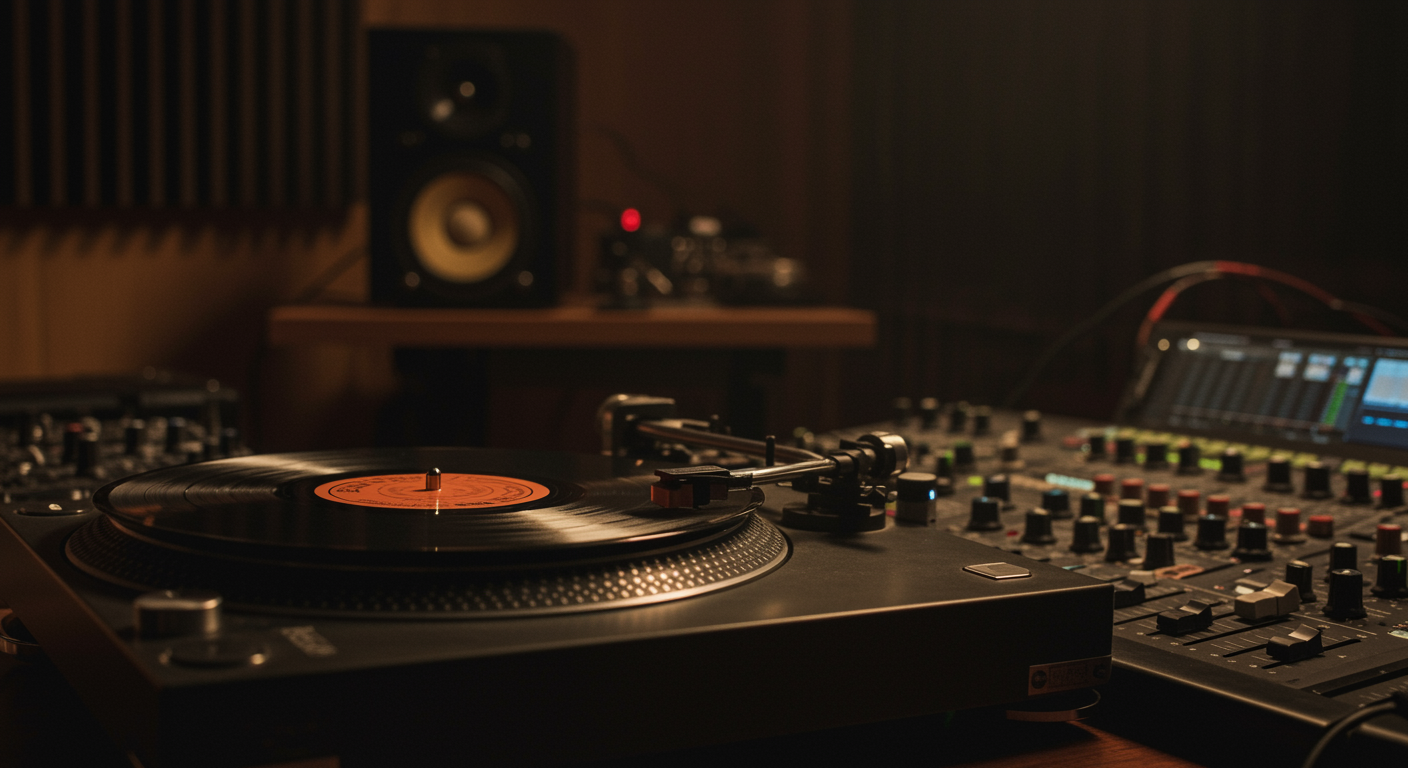
The first crucial step in effectively mixing vinyl samples into digital music production is the capture and digitization process. This begins with a quality turntable setup, ideally a direct-drive model known for consistent speed, paired with a suitable cartridge and stylus optimized for detailed playback. The audio signal then travels from the turntable to a phono preamplifier, which boosts the low-level signal and applies RIAA equalization, essential for accurate frequency reproduction. Following the preamp, an audio interface equipped with high-quality Analog-to-Digital Converters (ADCs) is indispensable. Aim for a sample rate of at least 44.1 kHz and a bit depth of 24-bit to preserve maximum dynamic range and detail, preventing any digital artifacts or loss of the sample’s inherent warmth.
Recording software, often your chosen DAW or a dedicated audio editor, facilitates the capture. It’s vital to maintain proper gain staging throughout this chain, ensuring the input signal is strong enough to capture detail but avoids clipping, which introduces undesirable digital distortion. Monitor levels carefully, aiming for peaks around -6 dBFS to leave adequate headroom. Once recorded, save your digitized vinyl samples in uncompressed formats like WAV or AIFF. This foundational step ensures that the character of the vinyl, including any subtle imperfections, is preserved as a high-fidelity digital asset, ready for further manipulation within your digital music production environment. To maintain efficiency as your collection grows, consider strategies for Organizing Sample Library files effectively.
Preparing Samples for Seamless Integration
After digitizing, preparing your vinyl samples is paramount for their smooth integration into a digital music production workflow. This phase often involves an initial cleanup to address common vinyl artifacts. Specialized restoration plugins, such as those for de-clicking, de-noising, and de-hissing, can effectively remove unwanted surface noise, pops, and crackles while striving to maintain the sample’s original sonic integrity. Over-processing should be avoided, as some of these imperfections contribute to the desired “vinyl character.” Following cleanup, precise trimming and chopping are necessary to isolate the desired musical phrases, one-shots, or rhythmic elements. This can be done directly in your DAW or a dedicated sample editor, meticulously defining start and end points.
Further preparation includes gain normalization or manual level adjustments to ensure samples sit appropriately within your project’s headroom. For samples with discernible melodies or harmonies, identifying their original pitch and tempo is critical. Many DAWs offer built-in tools for tempo detection and pitch analysis, which greatly assists in aligning samples with the key and BPM of your digital composition. While some producers prefer to keep samples at their original pitch and tempo for a raw feel, others adjust them to fit their track, which leads into more advanced creative manipulation. This meticulous preparation phase ensures that each vinyl sample is sonically robust and ready to be sculpted and mixed with precision.
Creative Shaping Within Your DAW
Once your vinyl samples are digitized and prepared, a Digital Audio Workstation (DAW) becomes the canvas for creative shaping, transforming raw audio into integral parts of your digital music production. Samplers, whether hardware or software-based, are central to this process, allowing you to map samples across a keyboard, trigger them with MIDI, and manipulate their playback parameters. Modern software samplers offer extensive capabilities for looping, ADSR (Attack, Decay, Sustain, Release) envelope shaping, and multi-sampling, enabling complex melodic or rhythmic arrangements from simple vinyl fragments.
Beyond basic playback, DAWs excel at time stretching and pitch shifting, offering unparalleled flexibility to adapt vinyl samples to your track’s tempo and key without altering their natural timbre too drastically. For those looking to push boundaries, exploring advanced sample stretching techniques can unlock truly unique sounds. Tools like granular synthesis can break samples into tiny “grains,” allowing for otherworldly textures, evolving drones, or stuttering effects that are impossible with traditional playback. Reversing samples, applying creative filtering, or using subtle amounts of delay and reverb can transform their character, making them feel fresh and integrated rather than simply dropped in. Layering vinyl samples with digital instruments or synths can add depth and an organic warmth that enriches the overall soundscape, contributing to a truly unique sound when mixing vinyl samples digital music production. For further insights into creating rich mixes, read our guide on Layering Audio Samples for Depth.
Effective Mixing for Sample-Based Tracks
Effective mixing is where the art of blending vinyl samples truly shines within digital music production, ensuring they sit cohesively and powerfully within a track. Equalization (EQ) is fundamental; use it to carve out sonic space for the sample, enhance desirable frequencies like warmth and mid-range character, and attenuate problematic ones such as muddiness or harsh highs from older recordings. Often, high-pass filters can be applied to remove unwanted low-end rumble while retaining the upper frequencies that give vinyl its distinctive texture.
Compression plays a vital role in taming the dynamics of samples, making them punchier and more consistent. Depending on the desired effect, you might use gentle compression for subtle glue or aggressive settings for a pumping, side-chained groove. Saturation and harmonic exciters are excellent for imparting a vintage analog warmth, mimicking the characteristics of tape machines or tube gear, adding richness and presence to the samples. Reverb and delay can be used sparingly to create atmosphere and depth, helping the samples sit in a shared acoustic space with other digital elements of your mix. Filtering can be used creatively for transitions or to emulate lo-fi effects. The goal is to integrate the distinct sonic signature of vinyl samples so seamlessly that they enhance the digital production, contributing to a professional and balanced final mix that stands out.
Navigating Sample Copyright and Clearance
An often-overlooked but critically important aspect of mixing vinyl samples digital music production is understanding and navigating sample copyright and clearance. It’s essential for producers to fully grasp Music Sample Copyright Laws to avoid legal pitfalls. The use of copyrighted material without permission can lead to legal issues, including cease-and-desist letters, fines, and even litigation. Generally, any recognizable portion of a copyrighted recording, regardless of length, requires clearance from two primary rights holders: the owner of the sound recording (usually the record label) and the owner of the underlying musical composition (typically the publisher and songwriter).
While “fair use” is a legal concept, its application to music sampling is complex and often contested, rarely providing a reliable defense for commercial releases. The safest approach is always to seek clearance. This involves identifying the original track, contacting the rights holders, and negotiating a license, which typically includes an upfront fee and/or a royalty percentage. Alternatively, producers can opt for public domain records, royalty-free sample packs, or create their own unique samples to avoid these legal complexities entirely. Understanding these considerations is crucial for any producer aiming for professional release and distribution, ensuring their creative endeavors are protected and legally sound.
Key Tools for Analog-Digital Hybrid Production
Building an effective workflow for mixing vinyl samples digital music production relies on a specific set of tools that bridge the analog and digital realms. At the core is a high-fidelity turntable and cartridge, ensuring accurate playback and capture of the source material. A dedicated phono preamplifier is non-negotiable for proper signal amplification and RIAA equalization before the audio enters the digital domain. Paired with this is a high-quality audio interface featuring excellent Analog-to-Digital Converters (ADCs), which preserve the nuance and dynamic range of the analog signal as it transitions to digital.
On the software side, a robust Digital Audio Workstation (DAW) like Ableton Live, Logic Pro, FL Studio, or Pro Tools serves as the central hub for recording, editing, and arranging. Specialized sampler plugins such as Native Instruments Kontakt, Serato Sample, or even the built-in samplers within many DAWs, are invaluable for manipulating and triggering samples. Restoration plugins like iZotope RX or Waves X-Noise are essential for cleaning up vinyl artifacts while preserving desired warmth. Finally, analog emulation plugins (e.g., tape saturation, console emulations, vintage EQs and compressors) help to further imbue digital samples with an authentic, rich character, enhancing the overall hybrid sound.
Cultivating a Distinctive Sample-Driven Sound
Beyond the technical processes, cultivating a distinctive sample-driven sound when mixing vinyl samples digital music production involves a blend of artistic vision and relentless experimentation. The choice of vinyl records is paramount; delving into obscure genres, forgotten artists, or foreign pressings can yield unique sonic textures that haven’t been overused. Don’t limit samples to just melodic or rhythmic elements; consider using vinyl as a source for ambient textures, subtle crackle layers, or percussive one-shots to add depth and organic grit to your digital arrangements.
Experimentation with processing chains is key. Try routing samples through unique combinations of effects, resampling the output, and then layering these processed versions. This technique can transform a simple vinyl loop into something entirely new and unrecognizable. Developing an ear for what makes a sample compelling, how it interacts with other elements, and how to manipulate its inherent characteristics to serve your artistic vision is crucial. Ultimately, a distinctive sound emerges not just from *what* you sample, but *how* you transform and integrate it, making the vinyl sample an integral, breathing component of your modern digital production.